Styling with Emotion
Let's take a look at how to style our application using Emotion.
While it may not be the best choice for an App Router app, if you're an Emotion fan it's important to understand how it works and the trade-offs involved. Keep in mind that you can't use Emotion directly with React Server Components, but let's dive in and see how to style our app with Emotion.
Installing Emotion Libraries
First, let's install the Emotion libraries by running the following command:
pnpm add @emotion/cache @emotion/react @emotion/styled
Next, add the required Babel extension as a development dependency:
pnpm add -D @emotion/babel-plugin
Setting Up the Emotion Registry
Emotion captures all of the CSS classes into a registry. To set this up, we need to create a Registry component that we'll add to our application.
Create a new file called Registry.tsx inside the src/app directory and add the following code that is mostly from the Emotion documentation:
"use client";

import React, { useState } from "react";
import { useServerInsertedHTML } from "next/navigation";
import { CacheProvider } from "@emotion/react";
import createCache from "@emotion/cache";

const EmotionRegistry = ({ children }: { children: React.ReactNode }) => {
  const [emotionCache] = useState(() => {
    const emotionCache = createCache({ key: "css", prepend: true });
    emotionCache.compat = true;
    return emotionCache;
  });

  useServerInsertedHTML(() => {
    return (
      <style
        data-emotion={`${emotionCache.key} ${Object.keys(
          emotionCache.inserted
        ).join(" ")}`}
        dangerouslySetInnerHTML={{
          __html: Object.values(emotionCache.inserted).join(" "),
        }}
      />
    );
  });
  if (typeof window !== "undefined") return <>{children}</>;

  return <CacheProvider value={emotionCache}>{children}</CacheProvider>;
};

export default EmotionRegistry;
Next, we'll bring the Registry component into our layout.tsx file and wrap our children with it:
import EmotionRegistry from "./Registry";

import "./globals.css";

export default function RootLayout({
  children,
}: {
  children: React.ReactNode;
}) {
  return (
    <html>
      <head />
      <body>
        <EmotionRegistry>{children}</EmotionRegistry>
      </body>
    </html>
  );
}
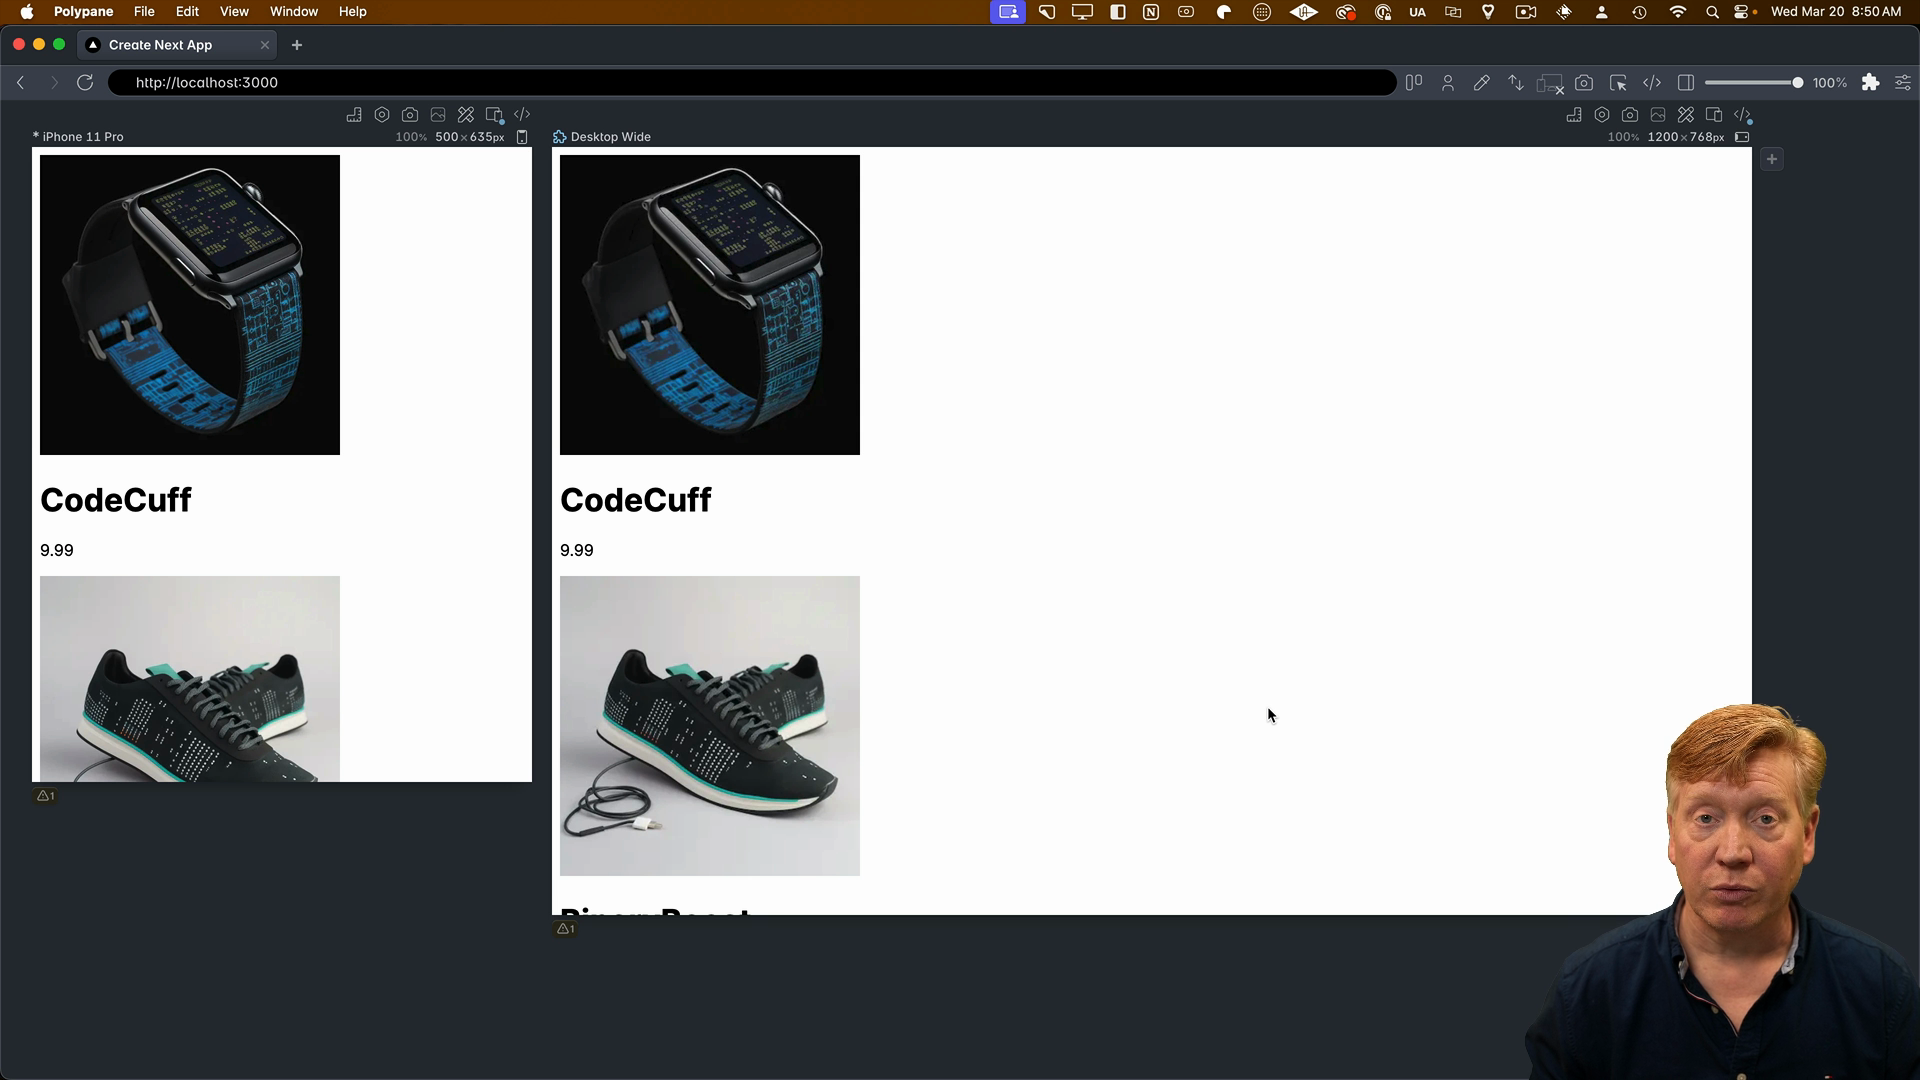
Now we can start the development server and check that there are no errors:

Styling with Emotion
Now, let's start styling our app using Emotion.
Open the page.tsx file and import the styled function from @emotion/styled:
import styled from "@emotion/styled";
Your task now is to use styled to create styled components for main and card, then replace the main tag and the interior div tag respectively.
Give it a try, then check out the next video for the solution.