Unit testing is something you'll want to set up early in your development cycle. We'll be using Jest for this purpose.
Creating a Sample App with Jest
Start a new Next.js app with Jest by running the following command:
pnpm dlx create-next-app@latest testing-with-jest --use-pnpm
Take all the defaults, including TypeScript, ESLint, and Tailwind CSS.
There are several libraries required for Jest that need to be installed as dev dependencies:
pnpm add jest jest-environment-jsdom @testing-library/react @testing-library/jest-dom-ts-node @types/jest -D
This installs Jest, the JSDOM environment for simulating a browser during testing, the React Testing Library for interacting with and checking your components, and the Jest types for TypeScript.
Initializing Jest
With all the libraries installed, initialize Jest with the following command:
pnpm create-jest@latest
This will ask a few questions to configure Jest.
When asked about using Jest for the test script, say yes. You should also say yes to TypeScript, use jsdom for the environment, and skip code coverage. The last question is about clearing mock calls between tests, which you can answer no to.
After answering, Jest will add a test script to the package.json file, as well as create a jest.config.js file in your project's root with the chosen configuration.
We'll also add a test:watch script to run Jest in watch mode:
// inside package.json
"scripts": {
  "test": "jest",
  "test:watch": "jest --watch"
},
Connecting Jest with Next.js
Now, let's connect Jest with Next.js so it understands our project structure and can handle server components. Open jest.config.js and add the createJestConfig function from next/jest:
import type {Config} from 'jest';
import nextJest from 'next/jest.js';

const createJestConfig = nextJest({
  // Provide the directory path to your Next.js app
  dir: './',
});

...
At the bottom of the file, wrap the default Jest configuration in the createJestConfig function:
export default createJestConfig(config);
Testing a React Server Component
With Jest configured, let's write our first test. Open src/app/page.tsx and replace the boilerplate with a simple component:
// inside src/app/page.js
export default function Home() {
  return (
    <main>
      <h1>Counter Test</h1>
    </main>
  );
}
We'll create a test file named page.test.tsx alongside our component to test it:
// inside src/app/page.test.tsx
import "@testing-library/jest-dom";
import { render, screen } from '@testing-library/react';
import HomePage from './page';

describe("Basic page test", () => {
  it("should render the page", () => {
    render(<HomePage />);
    expect(screen.getByText("Counter Test")).toBeDefined();
  });
});
This test renders our Home component and checks that an element with the text "Counter Test" is present.
To run the test, we'll use the test script we added earlier:
pnpm test
This should run the test and report a pass.
To see watch mode in action, run the test:watch script:
npm run test:watch
Now, if you change the text in Home and save, Jest will re-run the test and report a failure since the expected text changed.
Testing a Client Component
Let's test a client component. Inside of src/app/Counter.tsx add the following component:
"use client";
import { useState } from "react";

export default function Counter() {
  const [count, setCount] = useState(1);

  return (
    <div>
      <p data-testid="count">Count: {count}</p>
      <button onClick={() => setCount(count + 1)}>Increment</button>
      <button onClick={() => setCount(count - 1)}>Decrement</button>
    </div>
  );
}
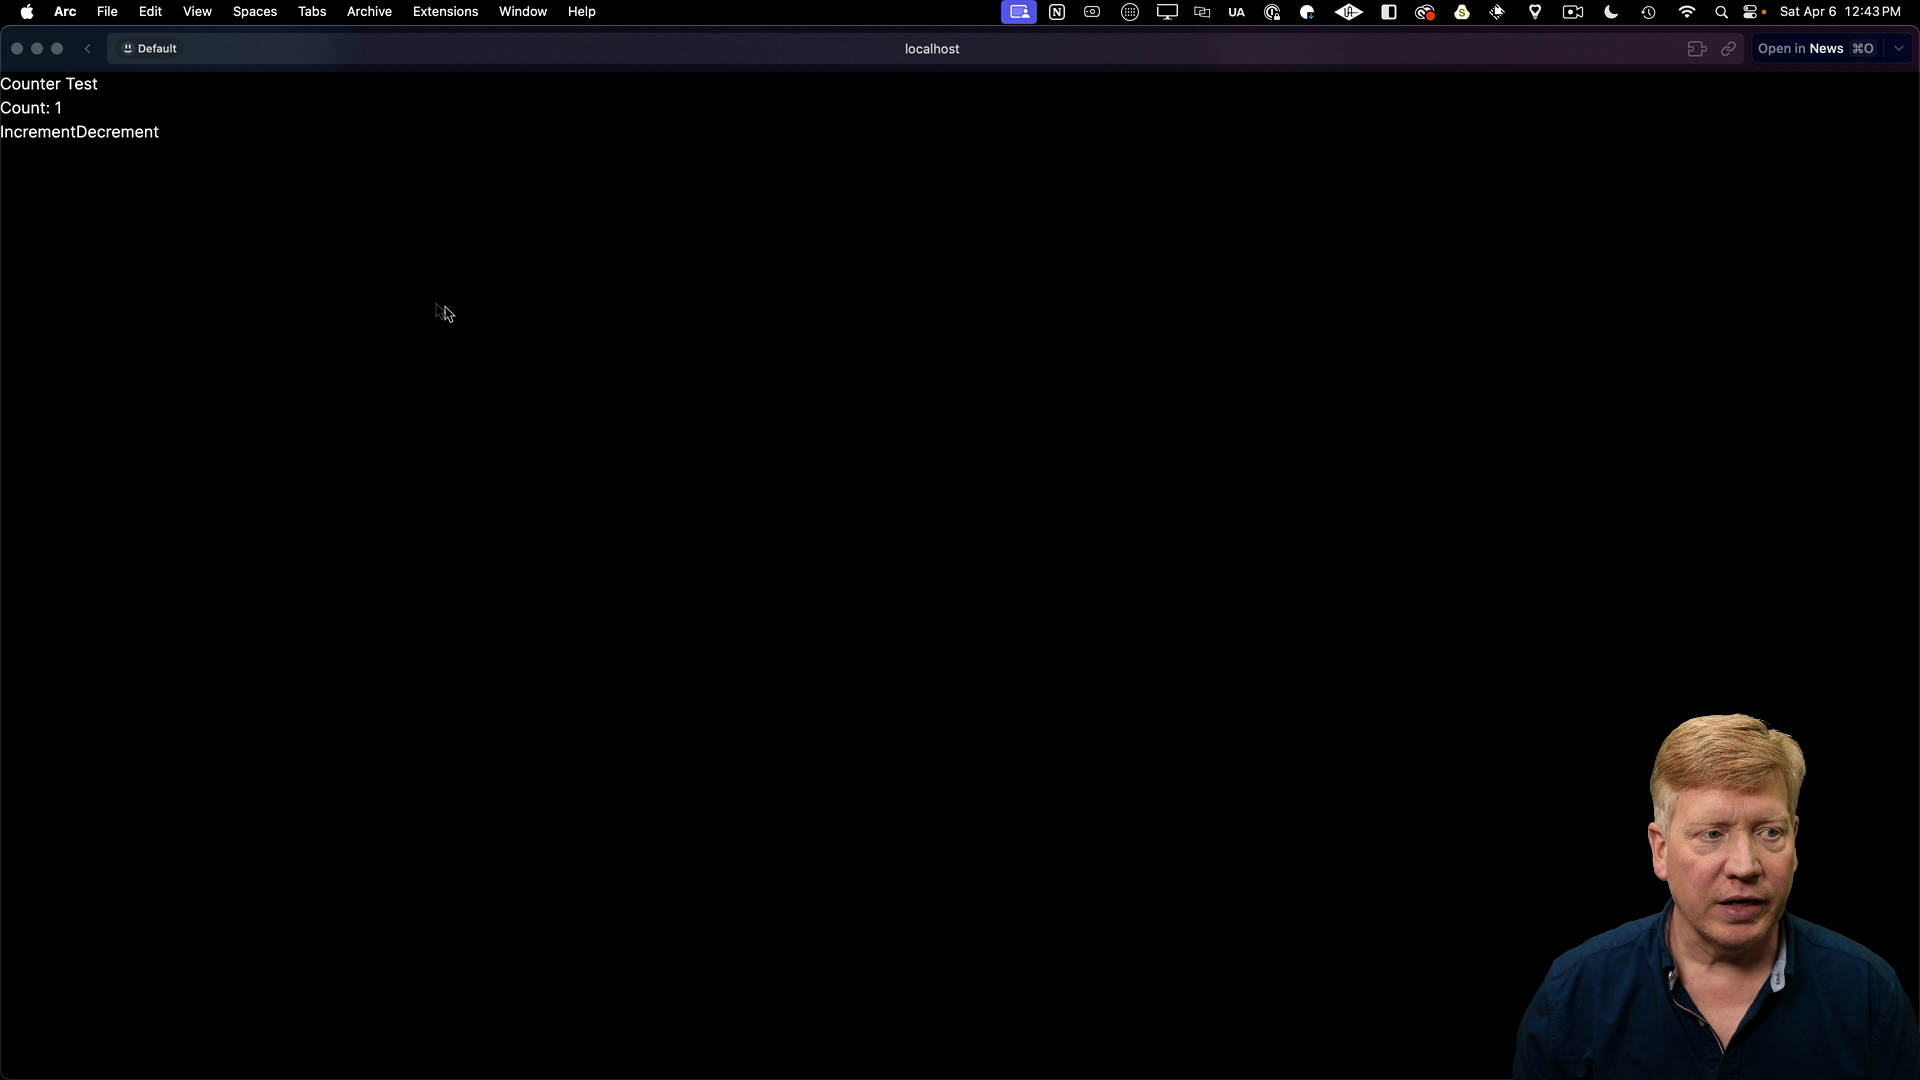
This client component keeps a count state and has buttons to increment and decrement it. The data-testid attribute on the paragraph tag will help us target it in our test.
Saving the file, you should see a basic interactive counter:

In order to test interactivity, we need to add the @testing-library/user-event library as a dev dependency:
pnpm add @testing-library/user-event -D
With the dependency added, we can create a test file counter.test.tsx for our Counter:
import { render, screen } from "@testing-library/react";
import userEvent from "@testing-library/user-event";
import "@testing-library/jest-dom";
import Counter from "./Counter";

test("tests a counter", async () => {
  render(<Counter />);
  await userEvent.click(screen.getByText("Increment"));
  expect(screen.getByTestId("count")).toHaveTextContent("Count: 2");
});
This test renders Counter, simulates a click on the "Increment" button using userEvent, and then checks that the count display shows "2".
Run the tests with pnpm test, and see that both pass as expected.
Testing Components Recap
You've now seen how to test React Server Components as well as client components using Jest. There is another type of test you will want to write for asynchronous React Server Components, but at the time of this recording this type of testing is not officially supported. As soon as this feature is available, we will update this lesson with the necessary information.