Cypress is an end-to-end (E2E) testing tool that creates a headless browser and navigates through your site, interacting with elements and running tests.
Let's build out a set of E2E tests.
Creating a New Next.js App
As before, we'll create a new Next.js application using the create-next-app command:
pnpm dlx create-next-app@latest e2e-with-cypress --use-pnpm
Choose TypeScript, ESLint, Tailwind CSS, and the App Router when prompted.
Installing Cypress
Next, let's install Cypress:
npx cypress install
pnpm add cypress -D
After the installation is complete, launch the Cypress UI with:
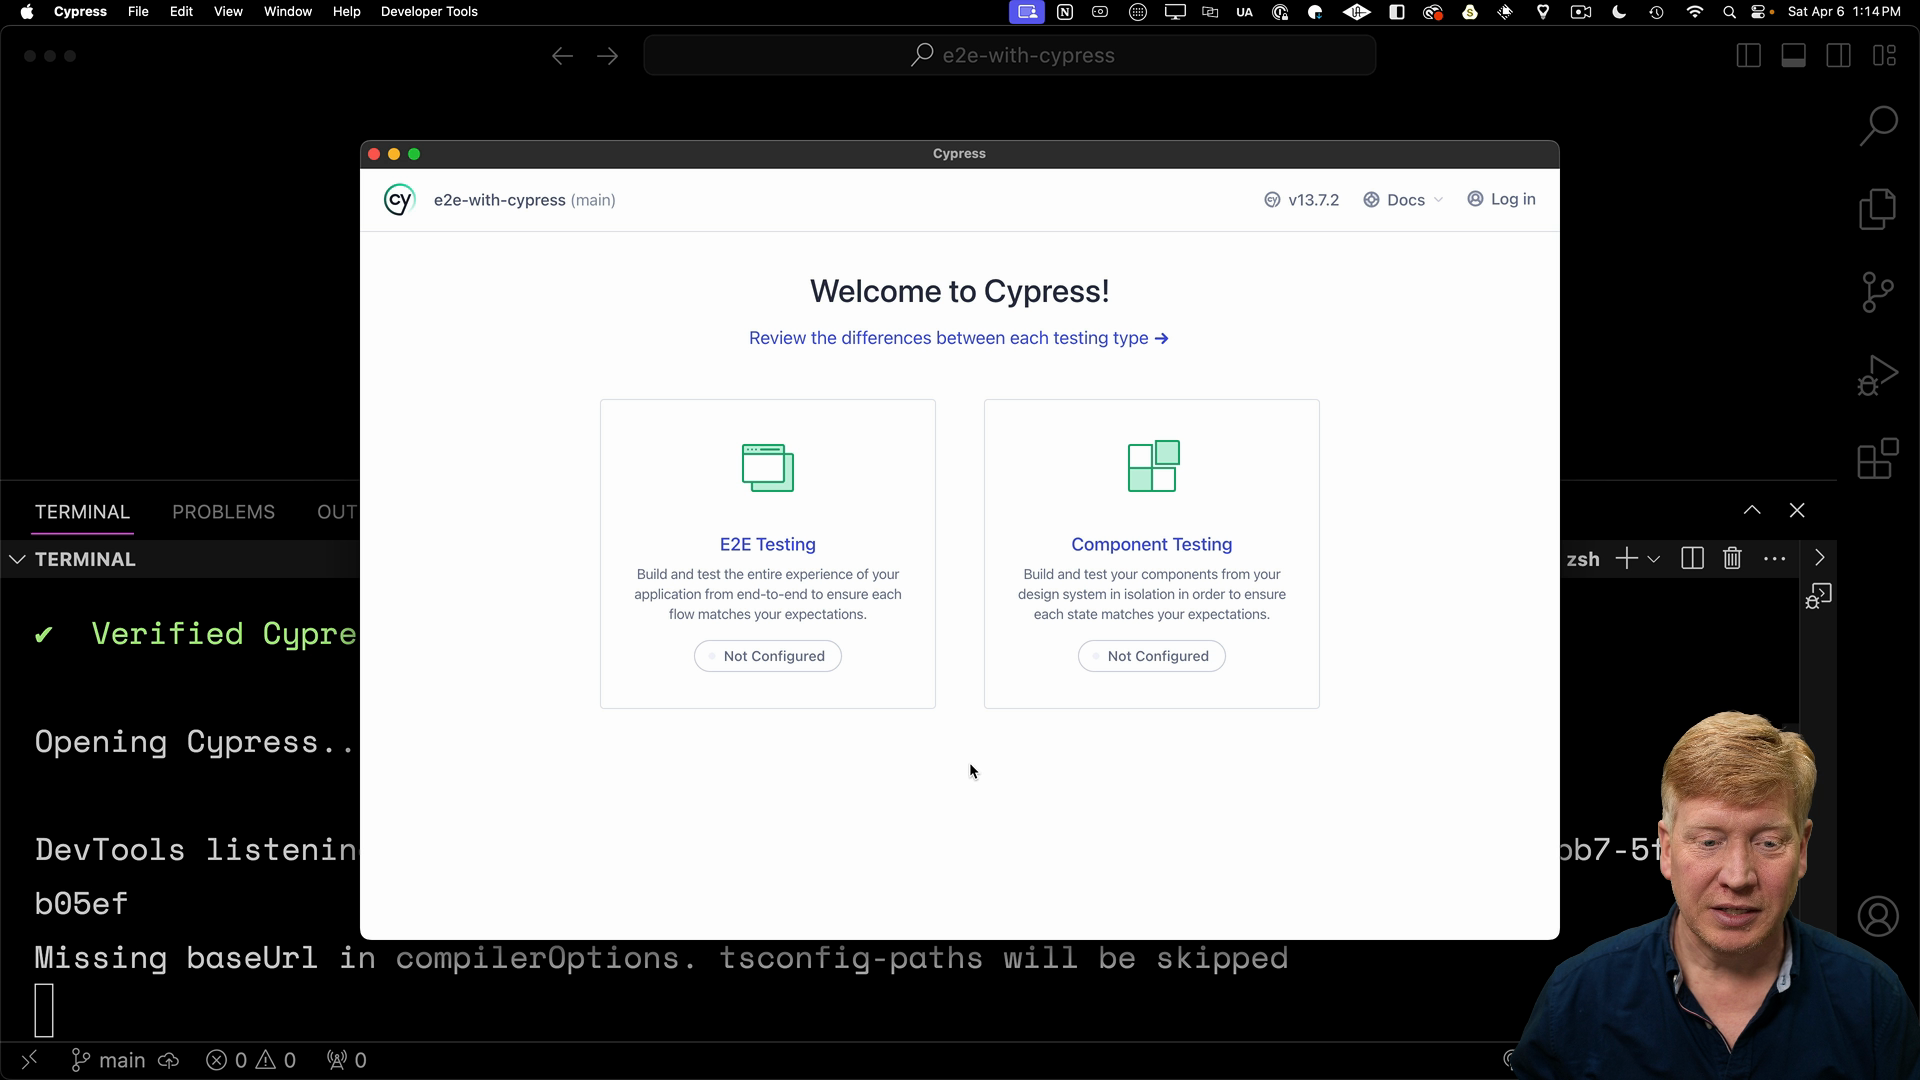
npx cypress open

Choose "E2E Testing", and Cypress will create the necessary configuration files and directories for you.
Configuring Cypress
In the root of your project, you'll find a new cypress.config.ts file. Open it and set the baseUrl property to http://localhost:3000. This tells Cypress to use http://localhost:3000 as the base URL for all tests.
// cypress.config.ts
export default {
  e2d: {
    setupNodeEvents(on, config) {
      // implement node event listeners here
    },
    baseUrl: "http://localhost:3000",
  },
};
Inside of the cypress directory is where we will create a test, but first we need to create a component to test.
Creating a Test Component
Open app/page.tsx and replace it with the following source code:
export default async function Home() {
  const pokemon = (await fetch("https://pokeapi.co/api/v2/pokemon").then(
    (res) => res.json()
  )) as { results: { name: string }[] };

  return (
    <div className="bg-black text-white p-5">
      <h1>Pokemon</h1>
      <ul>
        {pokemon.results.map((p) => (
          <li key={p.name}>{p.name}</li>
        ))}
      </ul>
    </div>
  );
}
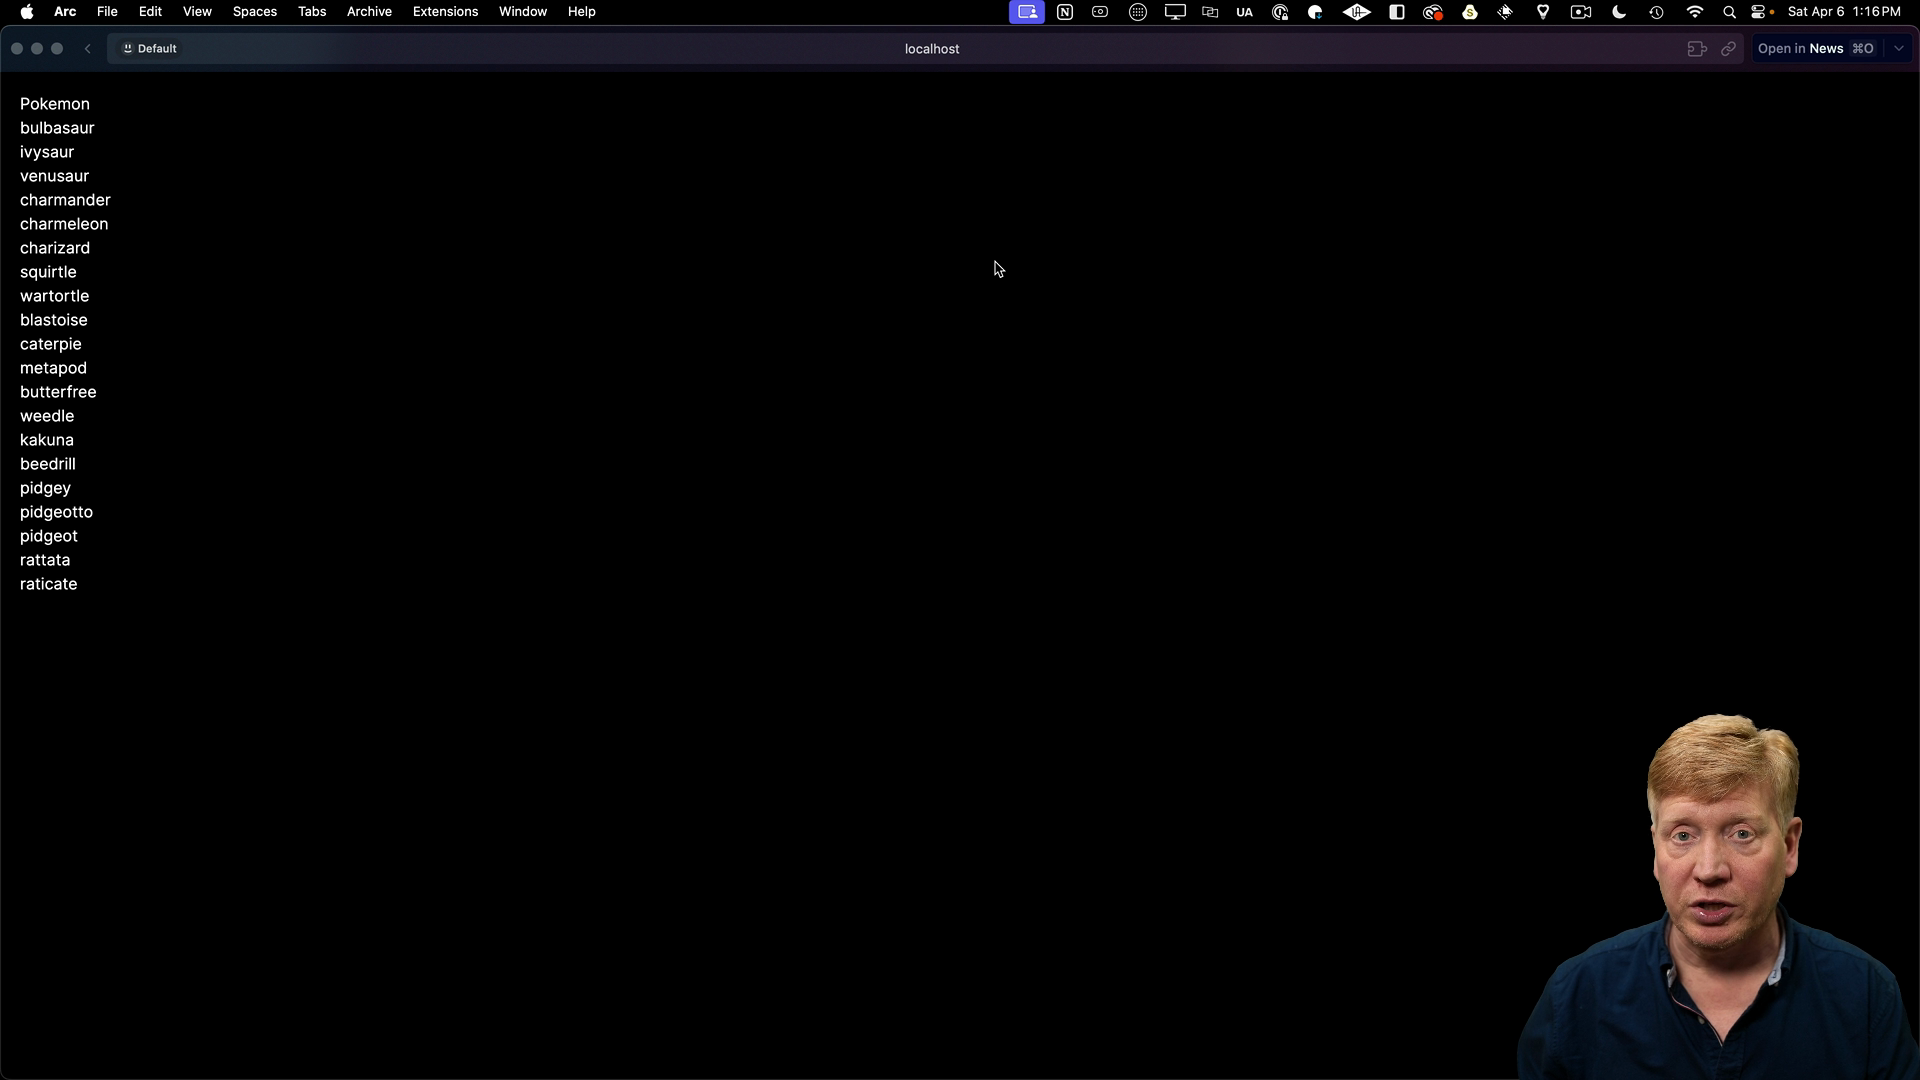
This component makes a request to the Pokemon API and displays a list of Pokemon names.
Start your development server with pnpm dev and navigate your browser to http://localhost:3000. You should see a list of Pokemon names, including "bulbasaur".

Writing a Cypress Test
Now that we have a component to test, let's write our first Cypress test.
Create a new directory called e2e inside the cypress directory, and add a new file named home.cy.ts:
// inside cypress/e2e/home.cy.ts

describe("Home page test", () => {
  it("Visits the home page and looks for bulbasaur", () => {
    cy.visit("/");
    cy.contains("bulbasaur");
  });
});
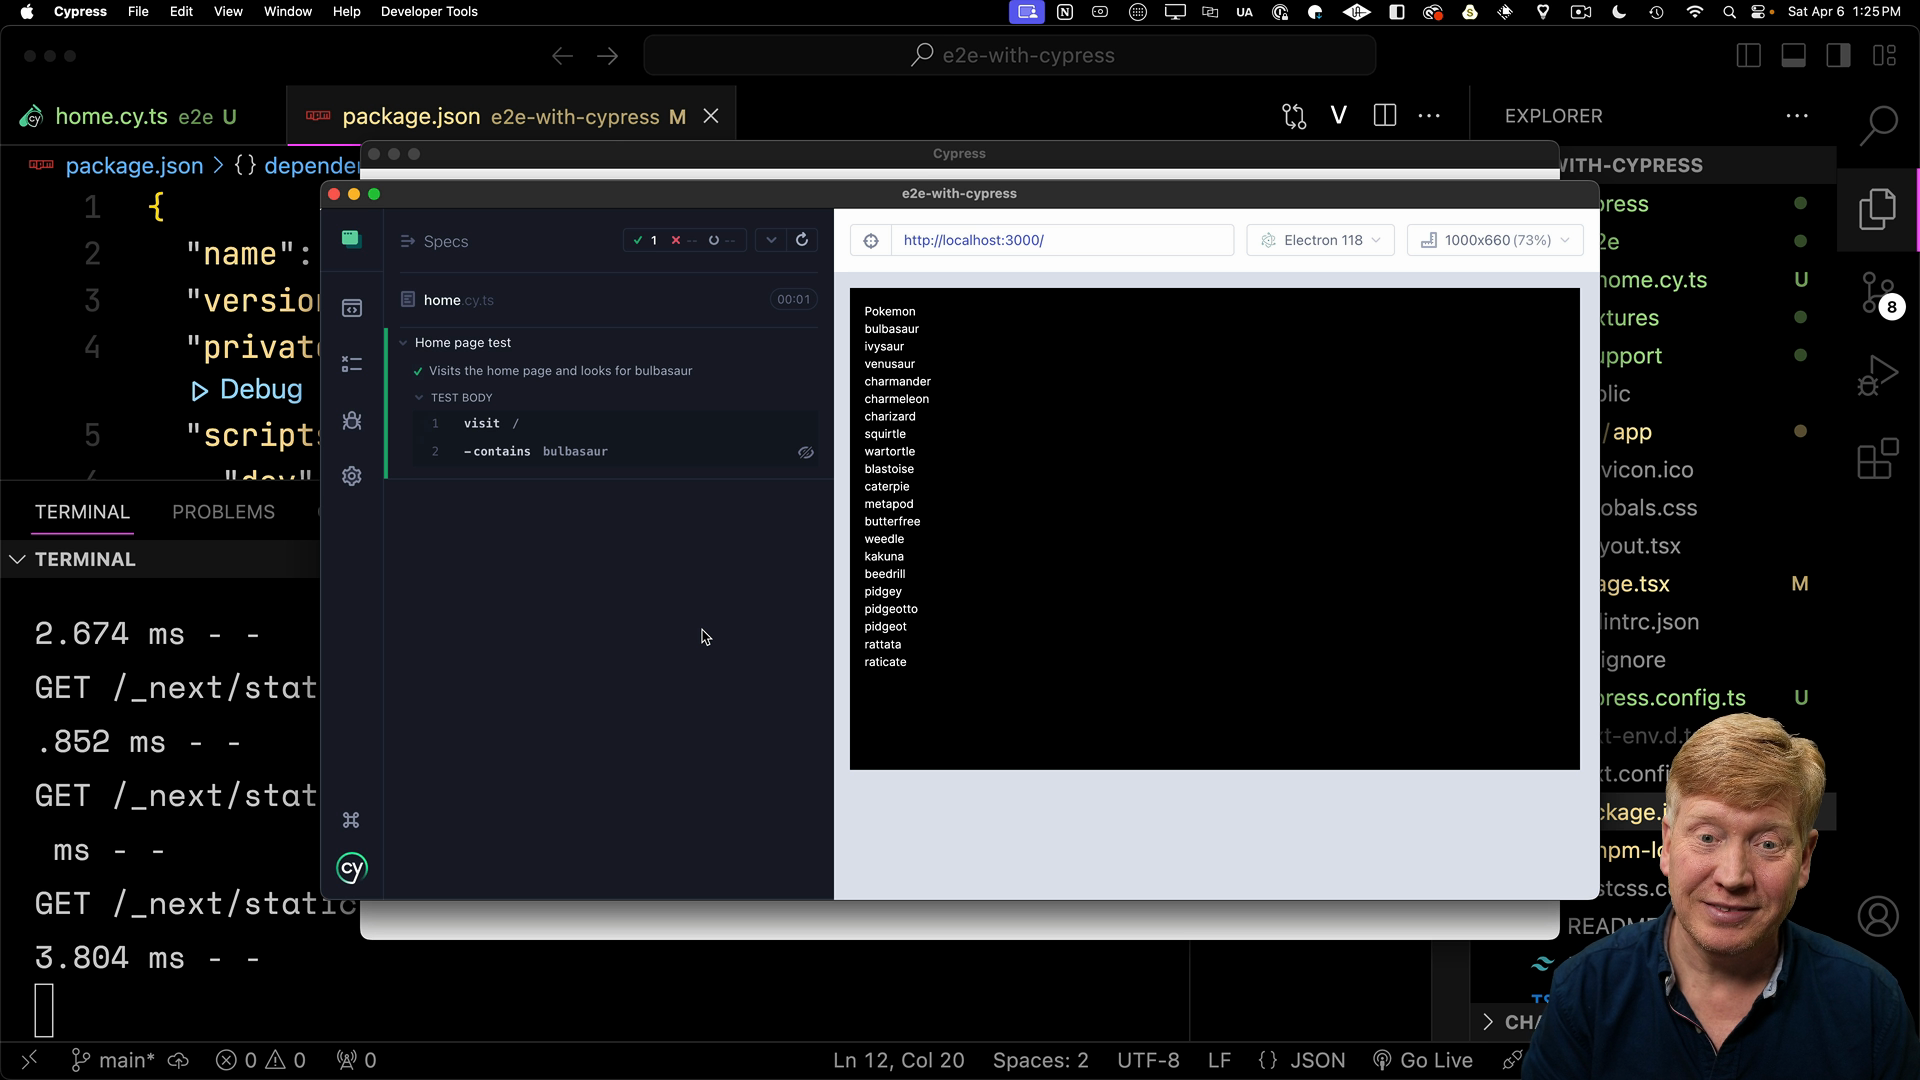
This test will launch the browser, navigate to the base URL, then check if the page contains the text "bulbasaur".
Running the Cypress Tests
Inside of package.json, we need to create a new script called e2e:test that starts the application and runs the Cypress tests concurrently:
// inside package.json
...
"scripts": {
  "dev": "next dev",
  "e2e:test": "concurrently \"npm run dev\" \"cypress run\"",
  ...
}
Using the Cypress UI
Run pnpm e2e:test to start the development server and run the Cypress test application:

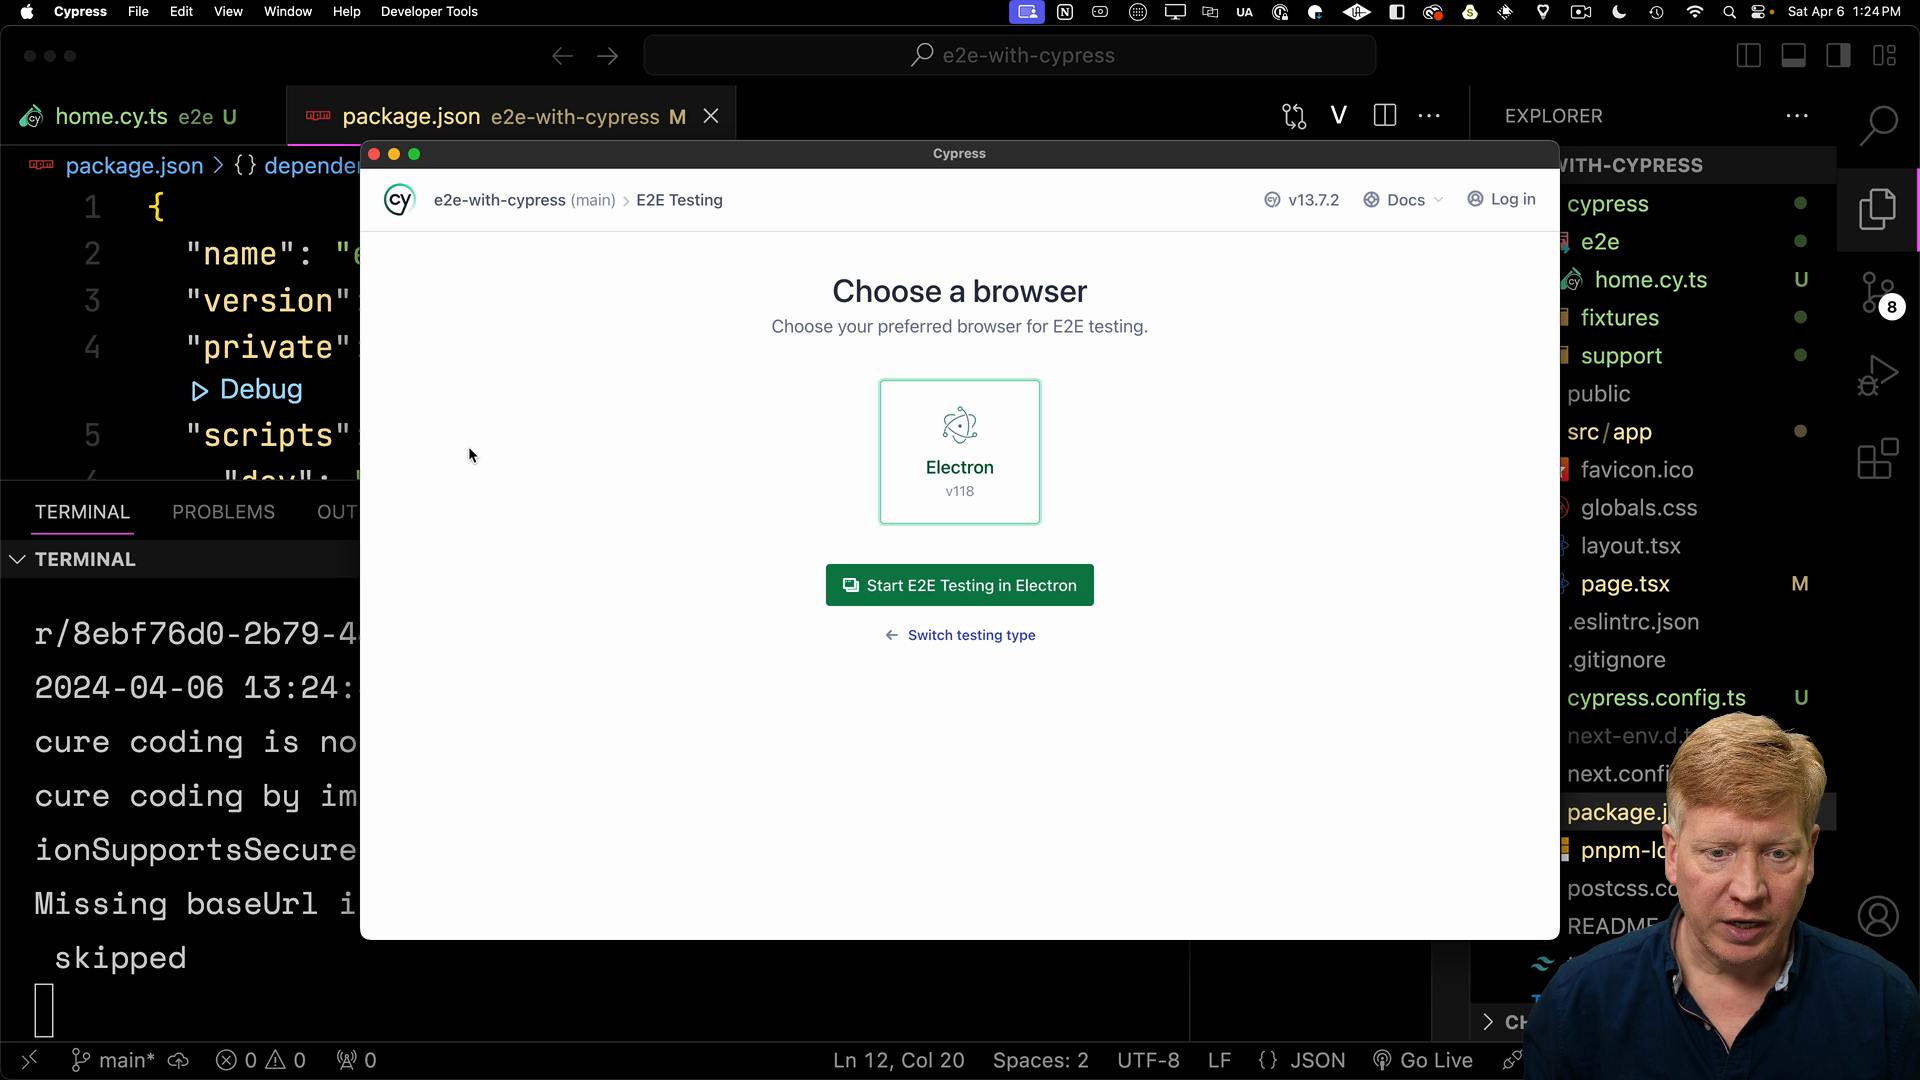
From the Cypress UI, select "E2E Testing", then click on the home.cy.ts file to run the test.
The Cypress UI will show you a live preview of the test running in the browser, which can be helpful for debugging and understanding how your tests work.

Wrapping Up
You have successfully run your first E2E test! As your application grows, you can follow this process to add more tests to cover different user flows and edge cases. Learn more about Cypress in their docs.