ProNextJS
    Loading
    lesson

    File Uploads in Next.js App Router Apps

    Jack HerringtonJack Herrington

    A common question for Next.js developers is how to tackle file uploads using the App Router. We'll explore two approaches: server actions and API endpoints.

    For this lesson, we'll use a simple Next.js app with Tailwind CSS and ShadCN already set up in the 02-file-uploads directory of the repo.

    Creating the Upload Form

    First, let's build a basic UploadForm client component:

    export default function UploadForm() {
      return (
        <form className="flex flex-col gap-4">
          <label>
            <span>Upload a file</span>
            <input type="file" name="file" />
          </label>
          <button type="submit">
            Submit
          </button>
        </form>
      );
    }
    

    This form is barebones, but it provides the foundation for our file upload functionality.

    If we open the app in the browser, we can see the form and choose a file, but nothing happens when we submit.
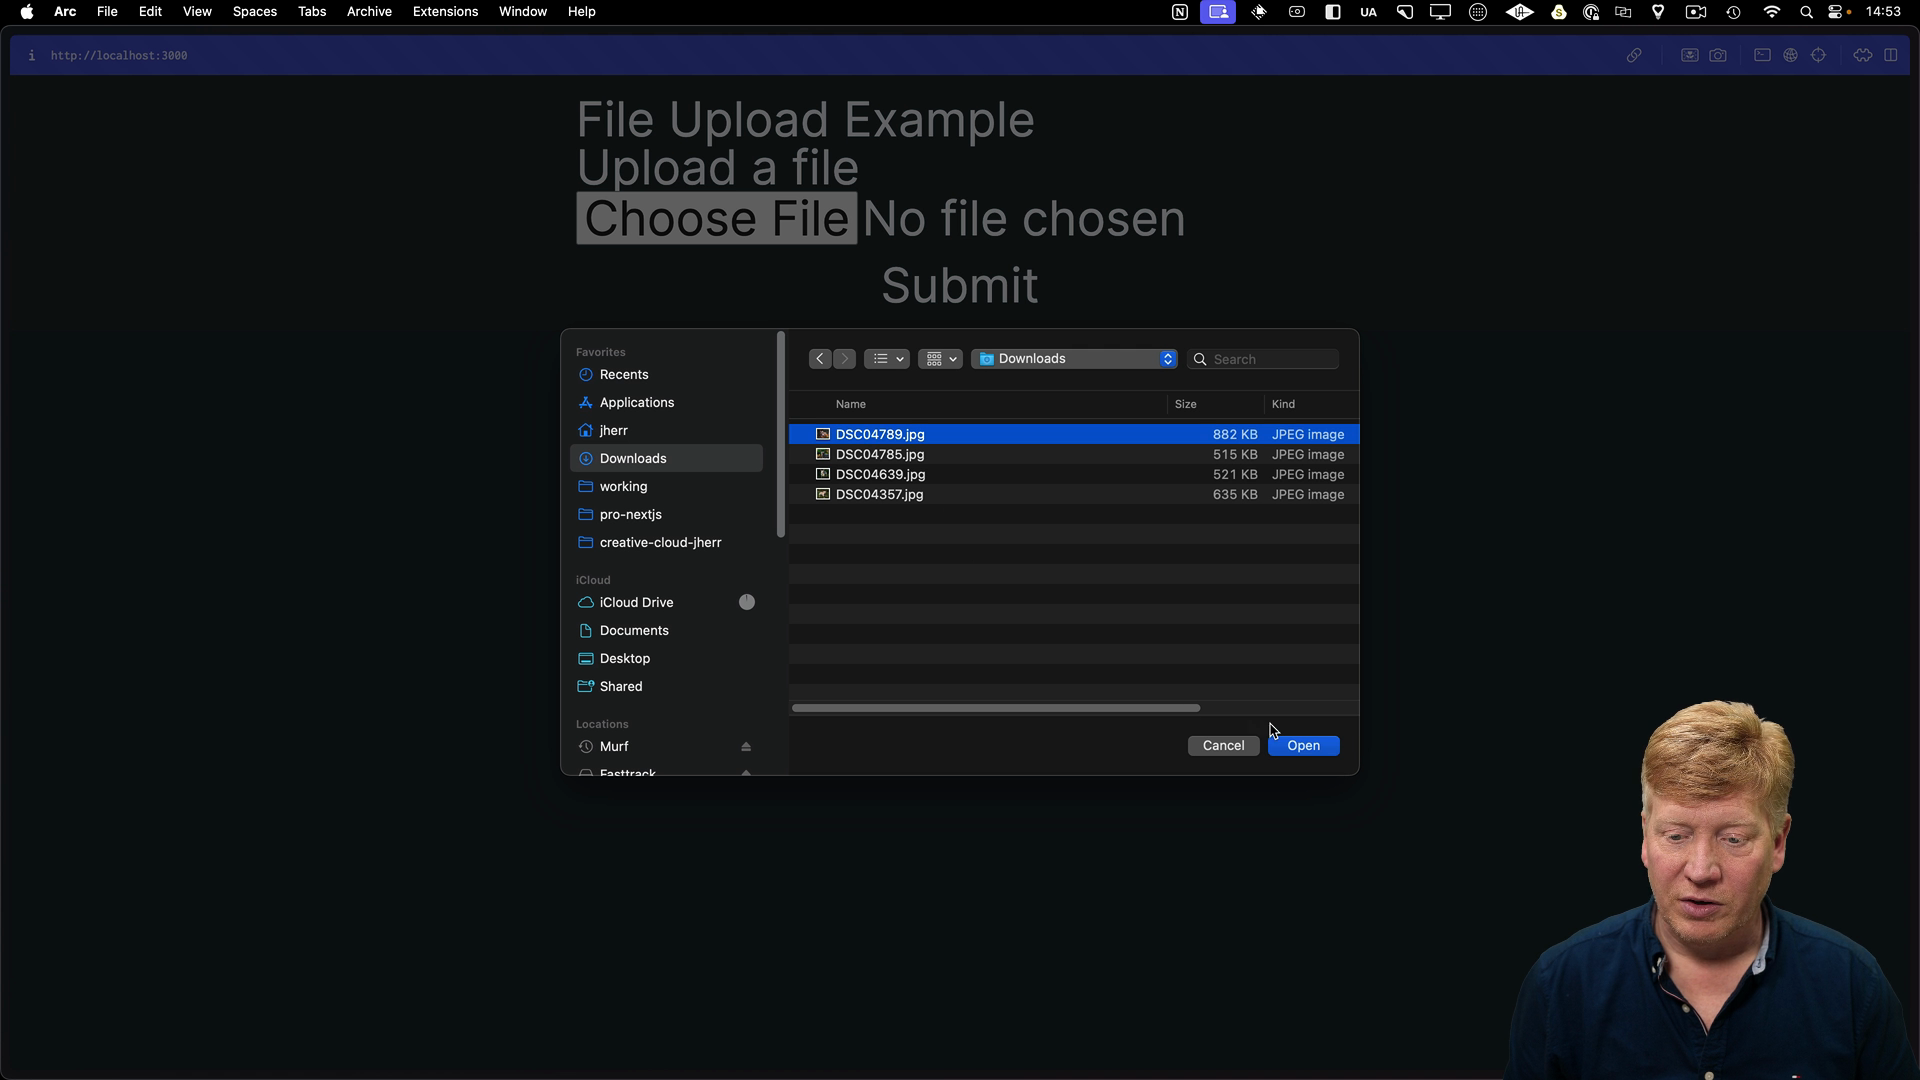
    current upload form

    Handling Uploads with Server Actions

    Let's create a server action to handle the uploaded file.

    First, create a new directory called public/uploads to store the uploaded files. In a real-world scenario, you'd likely use a cloud storage service like AWS S3, but we'll use a local file because we're in dev mode.

    Create a new file app/upload-action.ts for the server action:

    "use server";
    import fs from "node:fs/promises";
    
    export async function uploadFile(formData: FormData) {
      const file = formData.get("file") as File;
      const arrayBuffer = await file.arrayBuffer();
      const buffer = new Uint8Array(arrayBuffer);
      await fs.writeFile(`./public/uploads/${file.name}`, buffer);
    }
    

    This code defines a server action that receives form data, extracts the uploaded file, converts it to a byte array, and saves it to the public/uploads directory.

    Now, we need to wire up the action to our form:

    "use client";
    import { uploadFile } from "./upload-action";
    
    export default function UploadForm() {
      return (
        <form action={uploadFile} className="flex flex-col gap-4">
          <label>
            <span>Upload a file</span>
            <input type="file" name="file" />
          </label>
          <button type="submit">Submit</button>
        </form>
      );
    }
    

    By setting the action attribute of the form, Next.js takes care of submitting the form data to our server action.

    When we upload a file and submit the form, the file is saved to the public/uploads directory.

    Displaying Uploaded Images

    Let's display uploaded images on our homepage. The first thing we need to do is iterate through the public/uploads directory to create a list of image URLs, then map over them and render them below the upload form:

    import Image from "next/image";
    import fs from "node:fs/promises";
    import UploadForm from "./UploadForm";
    
    export default async function Home() {
      const files = await fs.readdir("./public/uploads");
      const images = files
        .filter((file) => file.endsWith(".jpg"))
        .map((file) => `/uploads/${file}`);
        
      return (
        <main>
          <h1>File Upload Example</h1>
          <div>
            <UploadForm />
          </div>
          <div className="flex flex-wrap">
            {images.map((image) => (
              <div key={image} className="px-2 h-auto w-1/2">
                <Image
                  key={image}
                  src={image}
                  width={400}
                  height={400}
                  alt={image}
                  className="object-cover w-full"
                />
              </div>
            ))}
          </div>
        </main>
      );
    }
    

    The existing images will now show, but uploading a new file won't make it show automatically. To address this, we'll revalidate the homepage route after each upload.

    To fix this, we'll add a call to revalidatePath to the uploadFile function in app/upload-action.ts:

    export async function uploadFile(formData: FormData) {
      // ...existing code
      await fs.writeFile(`./public/uploads/${file.name}`, buffer);
      revalidatePath("/");
    }
    

    Now, after each upload, Next.js will revalidate the homepage, ensuring that the latest images are displayed:
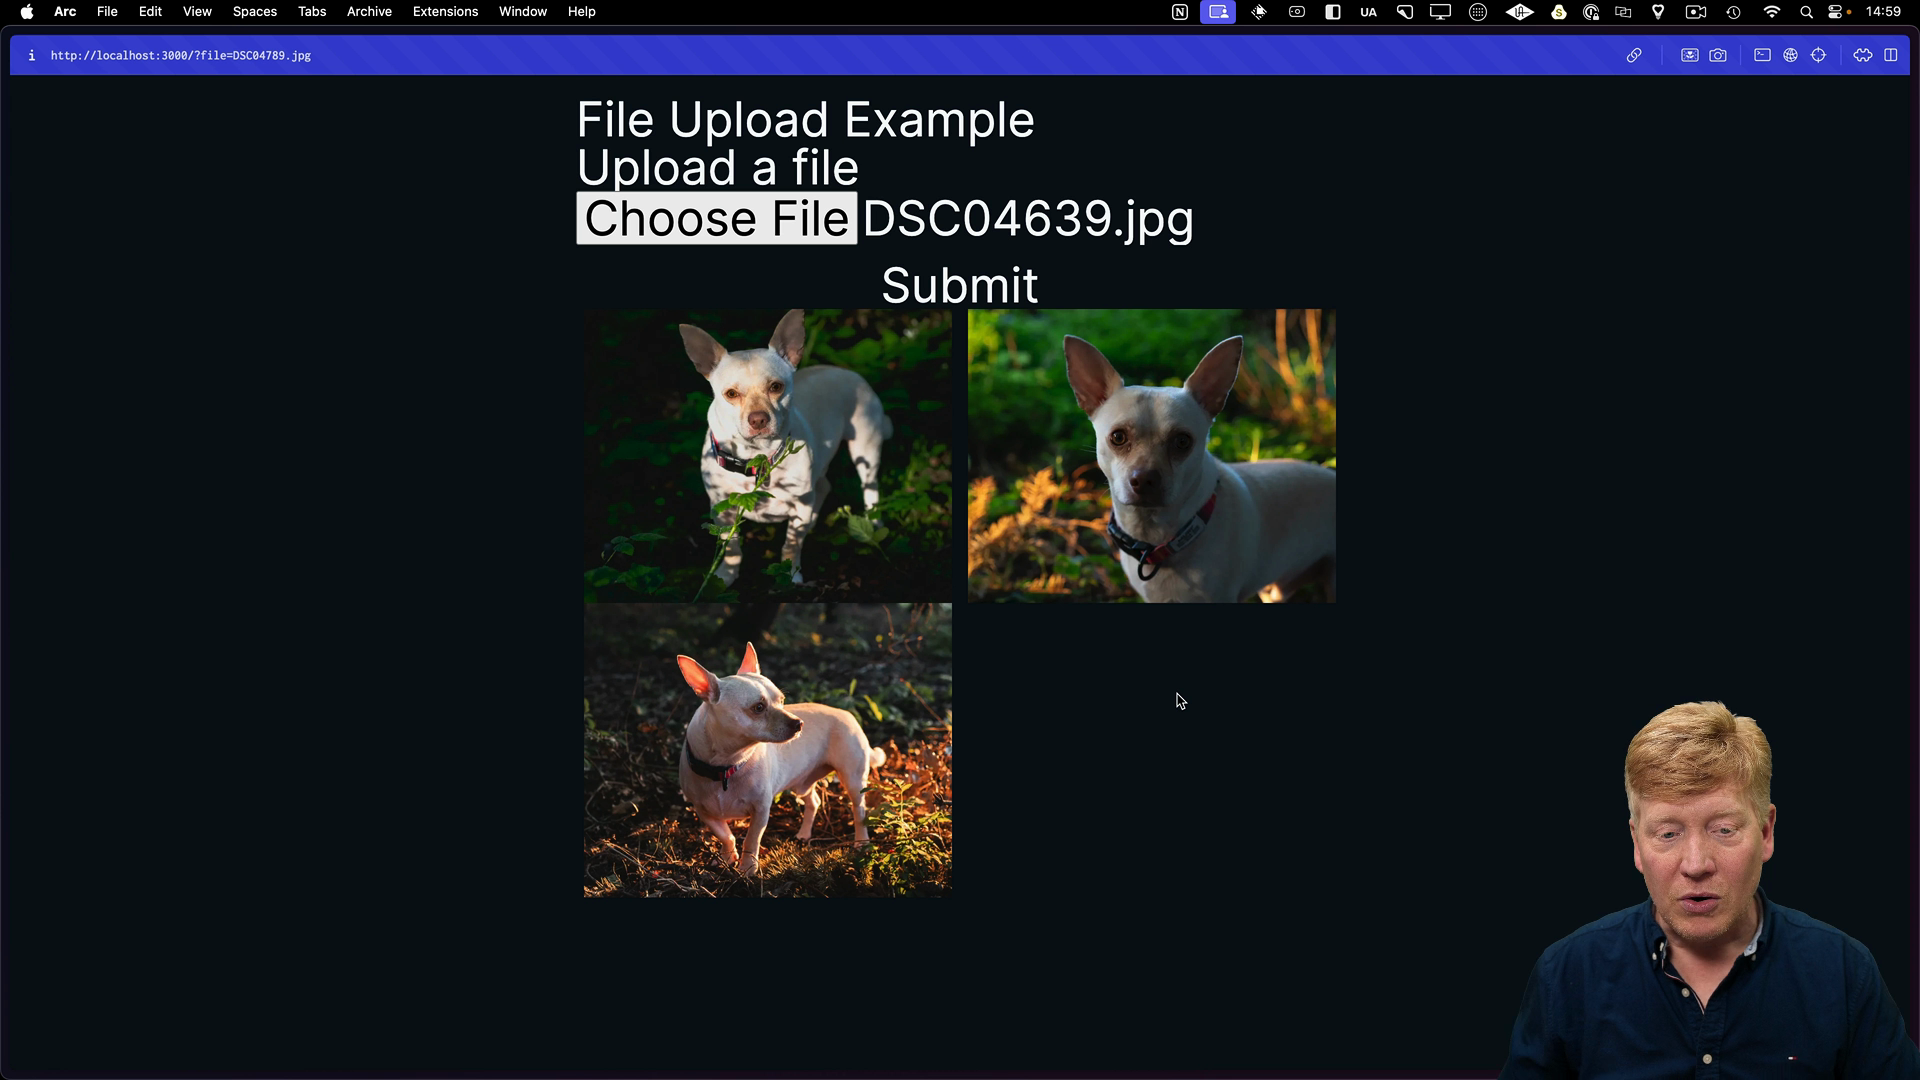
    the homepage displays images

    Handling Uploads with API Routes

    Now that we've seen how to handle file uploads with server actions, let's explore using an API route.

    First, create a new file at api/uploadimage/route.ts. Inside we'll do the same thing we did in the server action, but this time with a POST and getting the form data from the request:

    import { NextResponse } from "next/server";
    import { revalidatePath } from "next/cache";
    import fs from "node:fs/promises";
    
    export async function POST(req: Request) {
      try {
        const formData = await req.formData();
        const file = formData.get("file") as File;
        const arrayBuffer = await file.arrayBuffer();
        const buffer = new Uint8Array(arrayBuffer);
        await fs.writeFile(`./public/uploads/${file.name}`, buffer);
    
        revalidatePath("/");
    
        return NextResponse.json({ status: "success" });
      } catch (e) {
        console.error(e);
        return NextResponse.json({ status: "fail", error: e });
      }
    }
    

    Next, modify the UploadForm component to use our API route. To do this, we'll bring in useRef and create a new uploadFile event handler. Then we'll also bring in useRouter to refresh the page after the upload:

    "use client";
    import { useRouter } from "next/navigation";
    import { useRef } from "react";
    
    // import { uploadFile } from "./upload-action";
    
    export default function UploadForm() {
      const fileInput = useRef<HTMLInputElement>(null);
    
      const router = useRouter();
    
      async function uploadFile(
        evt: React.MouseEvent<HTMLButtonElement, MouseEvent>
      ) {
        evt.preventDefault();
        var formdata = new FormData();
        formdata.append("file", fileInput?.current?.files?.[0]!);
        await fetch("/api/uploadImage", { method: "POST", body: formdata });
        router.refresh();
      }
    
      return (
        <form
          method="POST"
          action="/api/uploadImage"
          className="flex flex-col gap-4"
        >
          <label>
            <span>Upload a file</span>
            <input type="file" name="file" ref={fileInput} />
          </label>
          <button type="submit" onClick={uploadFile}>
            Submit
          </button>
        </form>
      );
    }
    

    This updated component sends a POST request to our API route with the file data and refreshes the page to reflect the newly uploaded image.

    Both of these approaches are valid, so choose the one that best fits your project's needs.

    Transcript

    One of the questions I get asked a lot when it comes to Next.js and pretty much any framework that I work with is how to handle file uploads. So let's take a look at two different ways to do file uploads with the Next.js app router, including with a server action and also with an API endpoint. You get to have it whichever way you like it. All right, so I've created a simple Next.js App Writer application. I've selected Tailwind, installed ShadCN as I normally do, and then I've changed the homepage to just simply read file upload example.

    Let's take a look at the code. All right, so here's our home page. We brought in an image because we are going to use it. We are going to handle image uploads as you kind of do. So I'm going to create a new client component called Upload Form.

    And this is simply going to be a form and the form has a label on it. It's got a input type of file. The name of that input is file. And then it's got a submit button. So let's hit save and then bring that into our page.

    All right, well, the UI is nothing to write home about, but we can go and upload files. I can select a file, and then I can submit, but in this case it does nothing. So the first thing we need to do to handle an upload is to have a place to put it. So let's go bring up the terminal, make a directory called public uploads. Now, if you're using something like S3, you wouldn't create this folder, you go and upload directly to S3.

    We're just going to upload it into a local file because we're just in dev mode. So now let's go and create our server action. We'll call it upload action. So this upload file is a server action because in a module that's got use server as the program at the top, and it's also an async function. So that makes it a server action.

    So it's going to take formData. That's actually important because we're just going to give the action on the form, this uploadFileServer action, and Next.js is going to do all the work for us. It's awesome. So the first thing we want to do inside the function is first get access to the file. So we'll do formdata.getfile.

    So why file? Well, it's because the name over here is file. That'll give us back a file reference. From there, we want to get the array buffer. That's going to give us the raw data.

    We're then going to turn that into a byte array, Uint8 array, and then we're just going to write that file to our public uploads with the name that's associated with the file. All right. So the only thing we left to do is to go bring that into our upload form and then set it as the action of the form. All right, let's run. I'll pick one of these files, hit submit.

    And now if I look over my public uploads, I can see that we have the file. Not bad. Good looking dog too. So what if we want to put any uploaded files onto the home page? Let's go back to our home page and make that happen.

    So the first thing we need to do is iterate through the public uploads directory. So to do that, we're going to use the FS promises package from node. That's the standard built-in node file system package. And then in our RSC, we're going to read the directory of public uploads and then we're going to go file by file, turn those files into image URLs. Of course we need to be an async function in order to await that reader.

    So I'll make it an async function. That's no problem because it's a React server component. And then down here below our upload form, I'll go and iterate through all of the images and then use that image tag that was provided to us by Next.js to format those images. All right, let's hit save. Now if I go back, we can see, ha ha, we've got our dog.

    That's awesome. Now add another one. Hit submit. And I think it uploaded. Yes, it did, but our page didn't update.

    So let's go and go down here and we'll revalidate the path of slash because what's happening in here is we aren't telling the homepage that there is new data. So it's not actually showing anything. So we need to revalidate that path. Hit slash. Slash will be the route we'll revalidate.

    All right, good. Let's choose another file. Submit. And there we go. That's looking great.

    So as you can see, using a form action to upload an image or any other asset is really not a problem. But let's say that you want to use an API. So let me show you how to use an API instead. So over in my app directory, I'm going to create a new file, API, upload image, and then route.ts. And in there, I'm going to do exactly the same thing as I did over in the upload action, but this time I'm going to put it on a post.

    So now we get a post request. We have to get the form data. That's the only really additional thing that we need to do here as opposed to the server action. After that, it's exactly the same thing. We get the file from the form data.

    We get that array buffer, turn it into bytes, write it to a file. And there you go. We are going to revalidate the homepage path at the end of this because the route cache doesn't know that the homepage is dynamic. So we need to revalidate that path in order to redo our list of all the files and show all the new images. All right, let's hit save.

    And now let's go and update our upload form. So the first thing we're gonna do is change this to a method post to our API upload image. We can get rid of our upload file. And now we are going to handle the post in JavaScript. So I need a reference to this file.

    So I'm going to bring in useRef. I'm going to define a file input ref, and I'm going to set my input to that ref. Then I'm going to create a new event handler called upload file. That's going to go on my button and handle the on click. So I'm going to prevent the default behavior.

    I'm going to create some form data and append my file to it. Then I'm going to post that form data to API upload image. All right, let's give it a try. I'm actually gonna remove a couple of dogs because I'm running low on dogs here. So let's go and delete those.

    Let's Save on the form. Let's give this another try. So let's choose a file and submit. Now that worked, but we didn't actually refresh the page. That's because calling an API route, you don't get that revalidate home on the client automatically.

    So we need to do a router refresh. That means that we need to bring in use router from next navigation. Then once you've uploaded the image, we'll do a router refresh. That'll refresh the current page that we're on. Let's give it a try.

    See what the fourth image looked like. Oh, how cute. All right, there's two different ways to handle file uploads using the Next.js App Writer. Of course, all of that code is available to you